Comparison of recording setup - Part 1

In February 2019, I started my biggest side project: a training course on Functional Programing in Scala. I’ve spent an estimated 2,000 hours on this venture and it is still not finished!
I have learned a lot from this project, but I have also made many mistakes along the way. So, I have decided to write a series of blog posts as a way of sharing my experience, and so that others can learn from my journey.
In this article, I will compare three recording setups I have used in 2020. In particular, I will highlight the cost, complexity and issues involved in each setup. I should mention that I am by no means an expert in video production, so take my comments with a grain of salt.
version 1: Common room in my building
Estimated cost £520:
- Blue Yeti X microphone £160
- Omnigraffle Pro £190 (the pro version exports diagrams to SVG)
- Screenflow £100 (Screen recording and video edition, only for Mac)
- Logo animation £70 (gig on fiverr)
The first issue I faced was the location. I live in a small apartment in London, which I share with my wife, 3-year-old son and nanny. As you can imagine, it is almost impossible to get a few hours of quiet to be able to record a video. So, my first attempts were made in the shared facilities in my building. This was far from optimal, as there were people around, so I had to restart every time someone opened a door or dropped off a parcel, but it was still better than at home.
One thing you should notice immediately in the video is the sound quality. Even though I bought a decent microphone, the sound is really poor. This is because I placed the microphone standing on the desk, next to my laptop, which means I was quite far away from the speaker.
Sound is one of the most important aspects in a video. It is better to have good sound quality and poor image quality than the other way around. So, I strongly encourage you to buy an external microphone and attach it to a microphone boom arm, either one that you fix on your desk or on a microphone stand - like the one music bands use. The latter is probably better, because you could pick up some vibration from your desk, for example, when you’re typing. The most important point is that you get as close as possible to the microphone to speak (say 5-10 cm).
version 2: Music studio
Estimated cost £960:
- Blue Yeti X microphone £160
- Pop filter and microphone stand £40 (got them from the studio landlord)
- Omnigraffle Pro £190
- Screenflow £100
- Logo animation £70 (gig on fiverr)
- one month studio rental £400
For my second attempt, I decided to rent the smallest and cheapest recording studio close to my home. This way, I could have a quiet place to pop by and store all my recording devices (I am pretty sure my son would have found a way to dismantle my microphone otherwise). I also used the studio as an office for about a month, but it is pretty depressing to work in a room without windows.
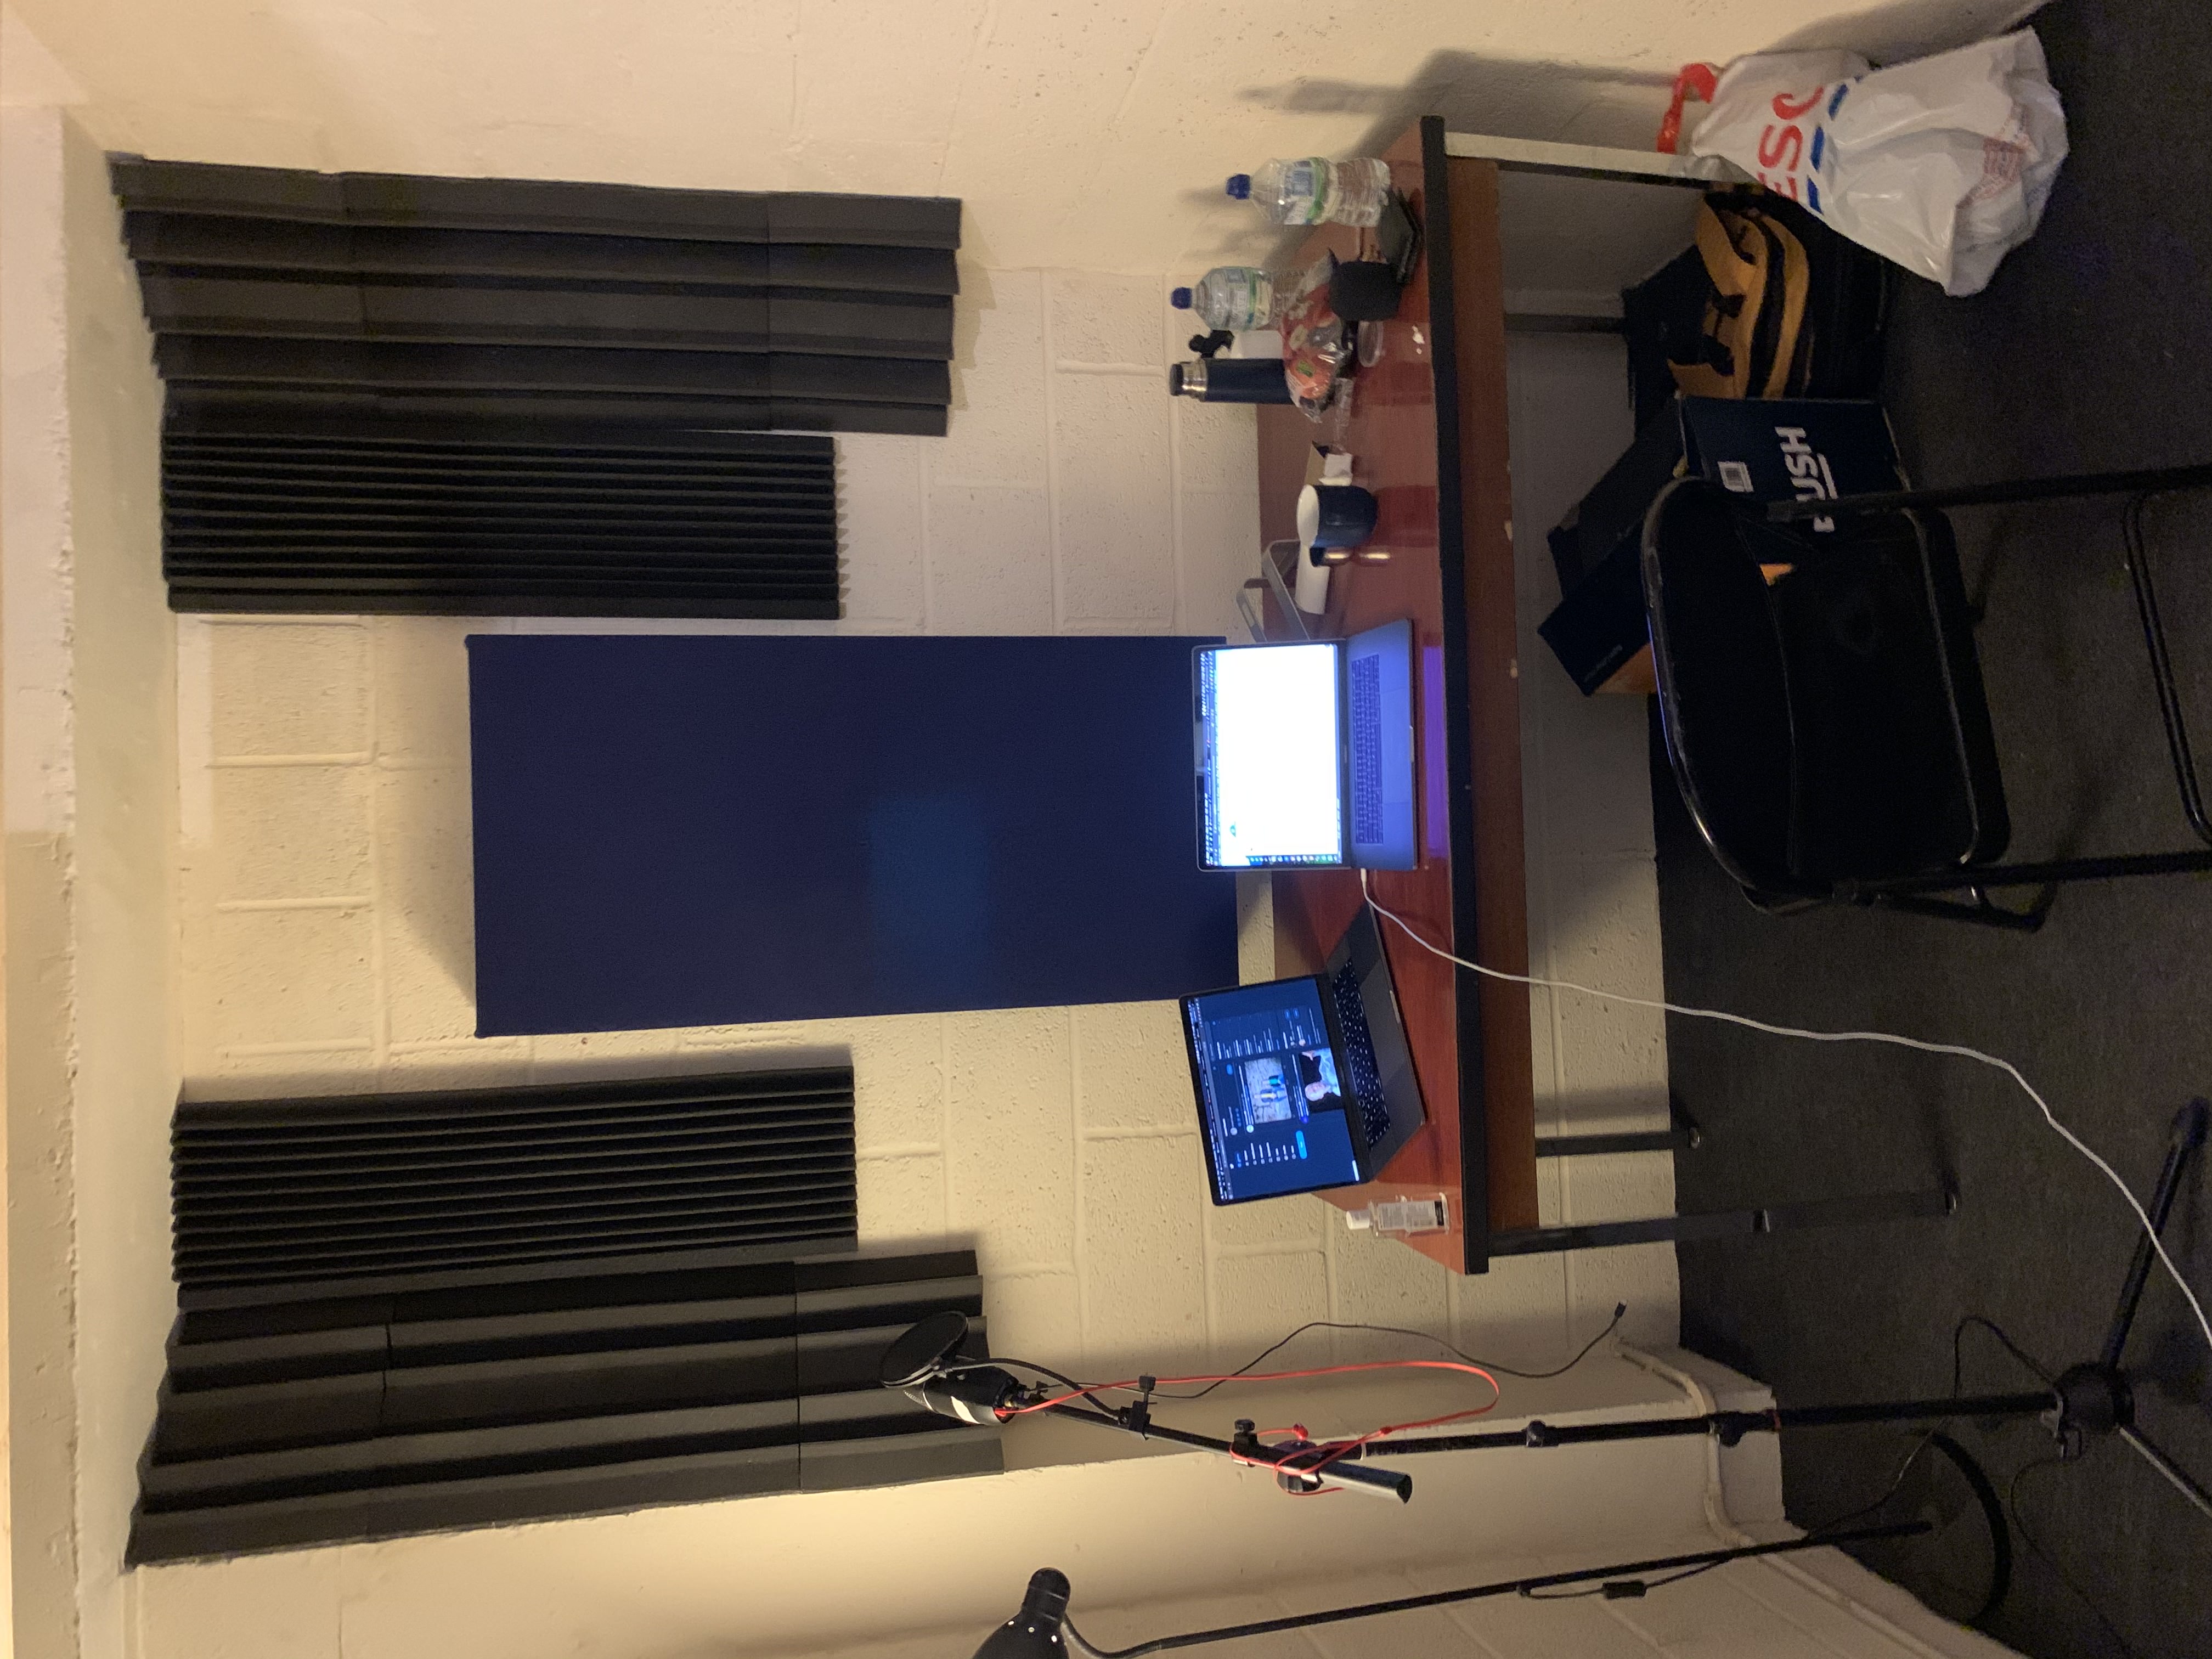
The studio was professionally soundproofed and acoustically treated (please excuse the mess on the desk)
If you listen to the video, you can hear the drastic improvement in sound quality between this video and the previous one. This was partly due to the room itself, but also because this time, I placed the microphone next to my face using a mic stand. My landlord also gave me a pop filter, which is used to reduce the popping sound usually present in words starting with ‘p’ or ‘b’. It costs next to nothing, so it is a good idea to get one.
You might also have noticed that the image quality is better in this iteration, even though the file size is much lower. This is because in the first version, I recorded my screen using Screenflow and used my keyboard to move from one slide to the next, while in the second version, I printed each slide to an HD picture and inserted the images in post production. This may sound like a tedious process, but you can easily automate it using remark.js and decktape (big thanks to Meriam Lachkar for helping me set it up). With this technique, not only is the image quality better, but it also simplifies the recording process, as you don’t need to click at the right moment for the slide transitions.
On a separate note, recording videos is a very difficult task. You need to talk at the right pace with some energy in your voice in order to make the content interesting, while paying attention to your pronunciation and grammar, which is even more difficult if you are not a native speaker, like myself. Therefore, I strongly encourage you to set up your recordings in a way that means you don’t need to think about too many things at once. For me, the most helpful steps were to write the script for the video, edit and rehearse it with my English teacher, and do all the slides and highlights in post production.
In conclusion, I highly recommend renting a recording studio if, like me, don’t have a quiet space to do so at home. This option is reasonably priced, and allows you to leave all your equipment in one place, ready for the next session. The biggest drawback is that music studios generally don’t have windows and are poorly decorated. They are designed to record audio, not video. This is perfect if you intend to record voice over videos, but if you want to film yourself as well, you might need to consider renting an office space instead. I will talk about this in the next blog post.